Wednesday, June 23, 2010

Yogurt

I first learned how to make homemade yogurt out of necessity; my baby was fighting infections brought on by too many antibiotics. Yogurt was a pleasant remedy to initiate. It is very cost effective and I can control additives and sweetners. Now we drink it because we like it!

Yogurt is a cultured milk product that requires only two ingredients: milk and a starter culture. My favorite commercial brand of yogurt to use as a start is Cascade Fresh plain yogurt. It contains more diverse active cultures than most brands. However, any yogurt that contains "live, active cultures" will do the job. Just check the label. Also, the less additives in the chosen start, the better: flavors, colors, sweeteners, ect.

Begin the yogurt by warming 3 1/2 cups of milk up to a temperature between 105* F and 120* F. This is very warm, but not hot enough to kill the live cultures. Blend in about 4 Tablespoons of fresh yogurt as the starting culture. Blend well to incorporate.

Now the milk just needs to be undisturbed and warm to allow the cultures to grow. Set the warm mixture into a quart jar and cover it with a lid. Then set the jar into a small cooler (one that would hold 2 6-packs of soda pop) and fill the cooler with equally warm water. This is just one method to maintain a steady temperature.

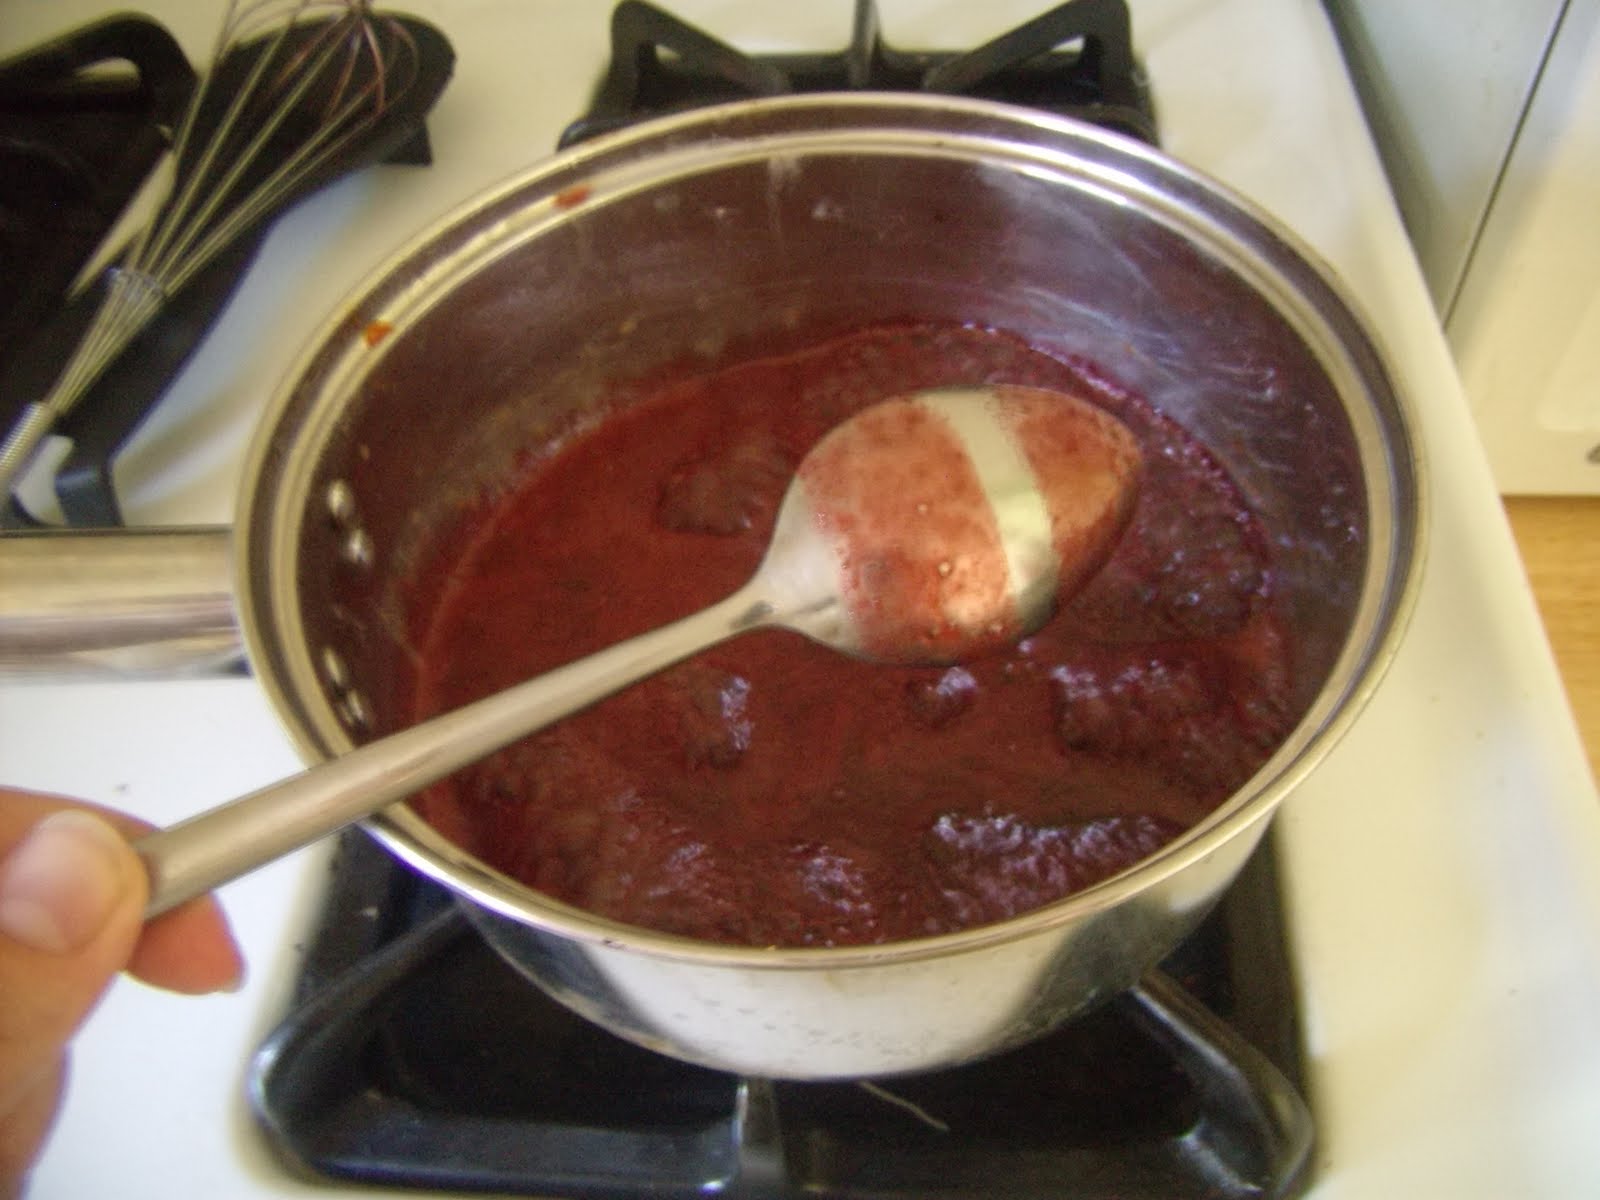
The yogurt is complete and the milk is cultured after about 4-10 hours. It goes faster if the temperature is well-maintained. Otherwise, it takes longer. Carefully check the yogurt with a spoon to see if the mixture has a thick and creamy consistency. It should look something like this.

Simply cool the yogurt in the refrigerator; this will stop the growth of the cultures. The yogurt is now ready to use. But wait! Before using any of the new yogurt, remove about 4 Tablespoons of yogurt and store it in the refrigerator for the next batch. I have been able to keep a good culture going for about 6 months. (Going on vacation wasn't good for it. It is most active when it is maintained and used often.)

Our favorite way to use the yogurt is as a drink. It is delicious mixed with fresh strawberry freezer jam, real fruit juices or fruit nectar. This morning's version was mixed with orange/peach/mango juice. Delicious!


Yogurt's versatility is tasty! It can be used to make a mild cream cheese, sour cream substitute, terrific marinade, delicious frozen yogurt or cucumber sauce for Greek gyros. And, don't give up if you produce an occasional non-yogurt result. These sour-milk products make terrific pancakes and waffles.
Thanks to a gift from my sweet husband, I have now graduated to a reliable yogurt incubator and a dairy thermomter. I can produce 2 quarts of yogurt in a consistant 4 hours. It sure makes yogurt easy, but it is not necessary equipment. I also regularly use powdered milk from our food storage to make yogurt. We don't like powdered milk, but we do like the yogurt from it! Delicious!


Friday, June 18, 2010

Spicy Cranberry Glaze


This recipe is derived from a recipe for Bold & Spicy Chicken Wings in issue no. 80 in the Cuisine at Home magazine. I changed the recipe for the glaze slightly, according to our tastes. We haven't actually used it on wings, but it sure is delicious on chicken! And it's so, so easy.

Ingredients:
  • 1/2 cup frozen cranberry juice concentrate
  • 1/4 cup prepared yellow mustard
  • 3 tablespoons brown sugar
  • 1 teaspoon hot sauce
  • 2 teaspoons Worcestershire sauce
Whisk all ingredients together in a small saucepan. Bring to a boil over high heat, then reduce heat to medium and simmer until mixture becomes syrupy, about 5-8 minutes.

Helpful tip: when you can draw a line through the glaze on the back of a spoon and it doesn't run, it's ready!


The glaze is best applied after the chicken is partially cooked, so that the glaze doesn't burn. Here, my lovely assistant, Scott, grilled the chicken on one side, flipped it over, then applied the first coat. After the second side cooked for a few minutes, he turned the chicken back over and put the glaze on the opposite side. Enjoy!


We have actually found that we prefer the glaze on cuts of chicken with skin. It seems to adhere better to the skin and results in better flavor.

Wednesday, June 16, 2010

Slow cooker Moo Shu Pork

With two babies, the crock pot has become my new best friend. Throw dinner in during the morning between feedings, naps, and diaper changes and Tah-dah! it's ready when the hubby arrives home. Brilliant, brilliant, brilliant! What's not to like?

I've been trying out a few new recipes meant for the crock pot from the website for Americanbaby. (Don't really like the magazine, but I somehow got on their mailing list and they send a freebie every once in awhile to try and get me to purchase a subscription. Hasn't worked yet, but the website is free. )

So here's one that actually worked and we enjoyed:

Ingredients:
  • 1/2 cup hoison sauce
  • 3 large cloves minced garlic
  • 2 tablespoons sesame oil
  • 2 tablespoons soy sauce
  • 1 tablespoon cornstarch
  • 1 bag shredded coleslaw mix
  • 1/2 (10 0z) bag shredded carrots
  • 3/4 pound boneless pork loin chops
  • 12 flour tortillas
  • scallions (optional)

1. Stir together top five ingredients; set aside.

2. Put coleslaw mix and carrots in crock pot; cover with pork chops cut into 1/8 inch slices. Drizzle with 1/4 cup hoison sauce mixture. Cook on Low for 6 hours or on High for 4 hours.

3. Stir in remaining hoison sauce. Serve on tortillas. Top with scallions.

Confession - I didn't exactly follow the directions. Chopped cabbage replaced the coleslaw; googled "hoison sauce" to make it; chopped up some not so pretty pork chops into chunks rather than slices. The homemade hoison sauce had peanut butter in it (*gasp* yes, I know) so while cooking it smelled like burnt p.b. to me. Horror! But it turned out good in the end. So stick to it even if it doesn't look/smell quite normal. It's worth it in the end. And the scallions just added a nice something to it.

Tuesday, June 15, 2010

Cupcakes in a Jar

This one isn't so much a recipe as a brilliant idea. I don't recall where I saw this done, but I remembered it when I wanted to to take some cupcakes leftover from Ellie's party to my visiting teachee and didn't have anyway to transport them.


I grabbed a pint jar and layered it with leftover (unwrapped) chocolate cupcakes, buttercream frosting, and sweetened coconut flakes. Cheap, easy, and delicious!